

Overview
This guide will walk you through implementing OAuth2 device authorization for console users, allowing them to log in to your game using their Discord account. By following this guide, you will learn how to:- Initiate OAuth2 device authorization
- Handle user authentication via QR codes or manual entry
- Exchange the device code for an access token
- Implement automatic token handling with the SDK
Prerequisites
Before you begin, make sure you have:- Read the Core Concepts guide to understand:
- OAuth2 authentication flow
- Discord application setup
- SDK initialization
- Set up your development environment with:
- Discord application created in the Developer Portal
- Discord Social SDK downloaded and configured
- Basic SDK integration working (initialization and connection)
To use the Discord Social SDK in your console games, you will need to request middleware approval and be an approved developer for the target console. Check out this article to learn more.
OAuth2 Device Authorization Flow
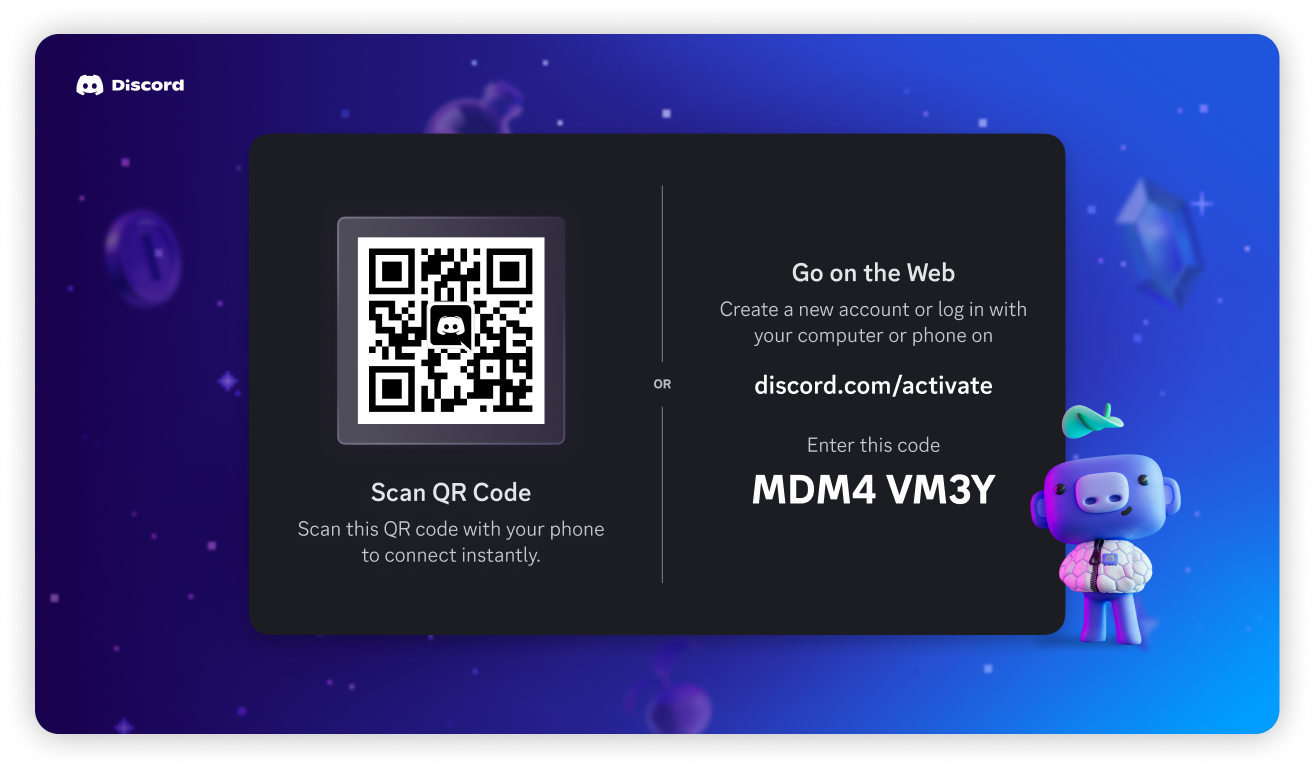
Console users cannot authenticate via a web browser. Instead, they follow these steps:- The game requests a device code from Discord
- To approve the authorization request, The user scans a QR code or enters a user code at
discord.com/activate. - Your game polls the Discord API to exchange the device code for an access token.
The OAuth2 flow requires a user’s account to be verified
Automatic Token Handling
The SDK automates all of the OAuth2 device authorization flow steps with a single call toClient::GetTokenFromDevice. This method will handle the entire authorization process, including polling for the access token.
Once you have the access token, you can authenticate the user with Client::UpdateToken and call Client::Connect to establish a connection with Discord.
Manual Flow for Console Authorization
If you plan to handle console authorization manually, you can follow these steps to authorize a user. We’ll be following the same OAuth2 device authorization flow as the automatic method, but you’ll need to manually handle the polling and token exchange.- Request a device code from Discord
- Display the user verification information or open the authorization screen (optional)
- Poll for the user’s authorization
- Exchange the device code for an access token
- Handle the token response and close authorization screen (optional)
Step 1: Request a Device Code from Discord
Your game must request a device and user code from the Discord API.Example Response
Step 2: Display Authorize Screen with QR Code and User Code
To open an authorization screen after requesting the user code, useClient::OpenAuthorizeDeviceScreen.
You can also display the
verification_uri_complete or verification_uri with user_code in your game’s interface to allow the user to enter the code manually.device_code from Step 1 is ready to be exchanged for an access token.
Step 3: Poll for User’s Authorization
While the user completes the authorization request, your game must poll the Discord Oauth2 token endpoint to exchange the device code for a valid access token. You should poll this endpoint using the providedinterval until the code expires after expires_in or succeeds. These values are available from the Authorize response above. If the code expires, you’ll want to start over with a new authorization request or cancel the authorization.
Step 4: Exchange Device Code for Access Token
Once the user completes authentication on Discord, your game must exchange the device code for an access token.Step 5: Handle Token Response
Once exchanged, the API returns an access token to be used withClient::UpdateToken and Client::Connect to start using Discord Social SDK features.
Example Response
Client::CloseAuthorizeDeviceScreen to close the authorization screen.
Example for Manual Token Authorization
Here is an example of implementing the manual authorization flow in Python.Working with Tokens
Once you receive the player’s access and refresh tokens, you can set the access token in the SDK withClient::UpdateToken. At this point, you’re authorized and ready to use Client::Connect.
access_token values do expire. You’ll need to make use of the refresh_token to refresh the player’s token, which is covered under Refreshing Access Tokens.
Next Steps
Now that you’ve successfully implemented account linking with Discord on a console, you can integrate more social features into your game.Creating a Unified Friends List
Combine Discord and game friends into a single list for easy management.
Setting Rich Presence
Display game status and information to Discord friends.
Designing for Consoles
Follow our design guidelines when integrating Discord features into a console game.
#social-sdk-dev-help channel for support from the community.
If you encounter a bug while working with the Social SDK, please report it here: https://dis.gd/social-sdk-bug-report